

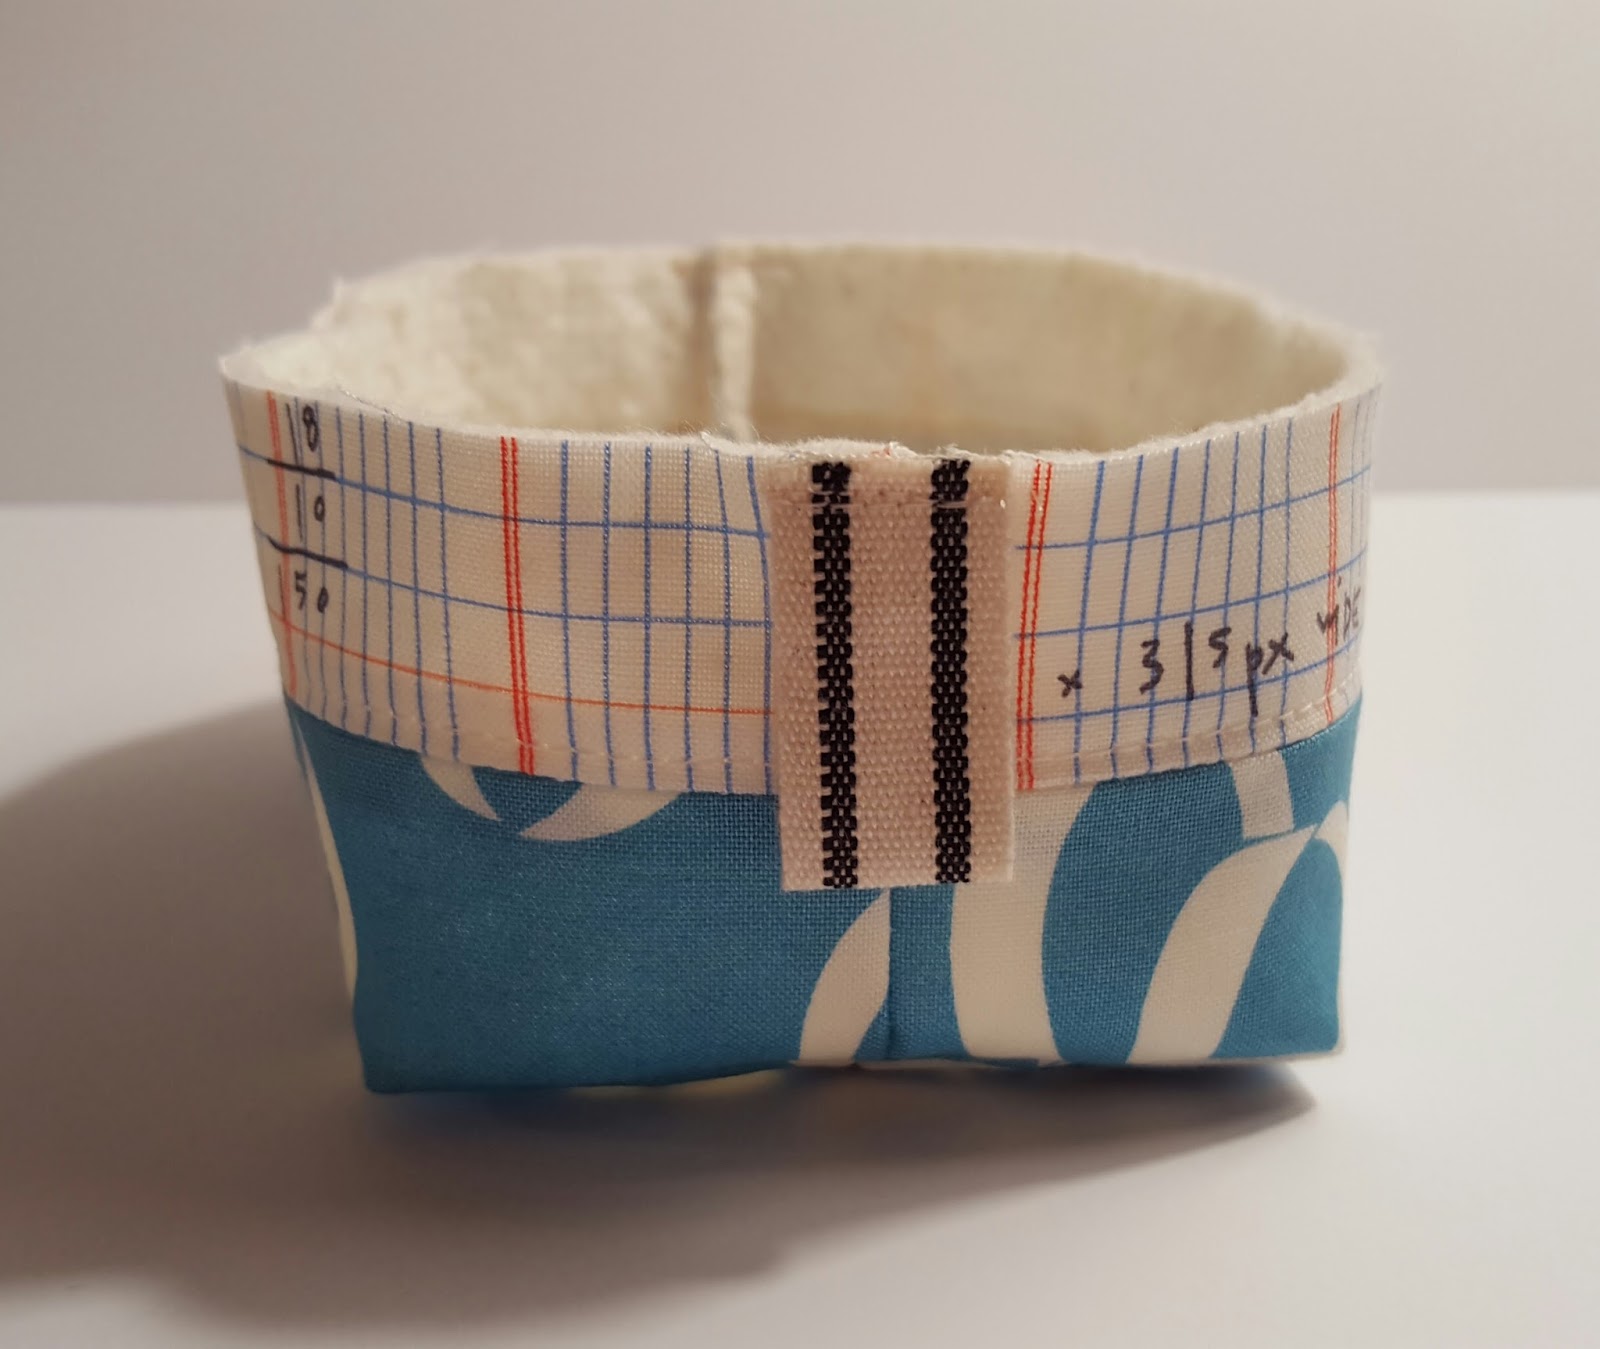
Say hello to your new favorite quick project! This cute basket is the perfect size for binding clips, mini charm packs, or any other small notions you want to collect in your sewing room. It also makes a darling little gift basket for tiny presents (hint: Easter is coming!). Beyond that, you can use this to hold jewelry, crayons, office supplies, party favors, candy, clothespins, makeup, recipe cards, small toys -- just about anything! Best of all, you can easily sew one of these -- even two if you're quick -- under an hour.

Finished Size: 2 x 3 x 4 1/2’’
Fabric:
|
For:
|
Cutting:
|
10'' square pink kitty print
|
Exterior basket accent
|
Cut 2 strips 1 1/4 x 8’’
|
10'' square green stars print
|
Exterior basket main
|
Cut 2 rectangles 3 1/4 x 8’’
|
10'' square pink scissors print
|
Basket lining
|
Cut 2 rectangles 4 x 8’’
|
10'' square batting
|
Exterior interfacing
|
Cut 2 rectangles 4 x 8’’
|
10'' square muslin
|
Lining interfacing
|
Cut 2 rectangles 4 x 8’’
|
5’’ twill tape, 5/8’’ wide
|
Basket handles
|
Cut 2 pieces 2 1/2’’ long
|
Other supplies: adhesive basting spray
| ||

1. Sew a 1 1/4 x 8’’ accent strip along the top 8’’ edge of a main exterior rectangle and press the seam open. Fuse the wrong side of this exterior panel to a 4 x 8’’ rectangle of batting and quilt as desired. (I simply topstitched a line 1/8'' above the seam on the accent strip.) Repeat with the pieces for the other exterior panel.

2. Clip or pin the two exterior panels together with the right sides of the fabric facing each other. Make sure that the seams where the accent and main pieces meet match up on both sides. Sew all the way around three sides of the exterior panels, leaving the 8’’ sides of the accent piece open. Be sure to backstitch at the start and finish of your seam.

3. Box the lower corners. Push down on a side seam so that it lies directly on top of the seam on the lower edge of the main panel, creating a triangle of batting on that side. Use your ruler to measure off a 3’’ line down the side of that triangle facing the basket (the side seam should be resting at the 1 1/2'' line). Use a pencil or fabric marker to trace that 3’’ line and then use your ruler to measure and cut a 1/4’’ seam just beyond that. Check that your seams match up before stitching down that pencil line.

Repeat on the other side of the basket.
4. Turn the exterior right side out and push out the corners of the basket. Fold a piece of twill tape in half so that the short ends meet. Baste the raw ends together to form a loop. Center the loop on a side seam of the basket so that the raw ends line up with the opening and baste it on place on the exterior of the basket. Repeat with the other piece of twill tape on the other side seam.
5. Fuse the wrong side of a lining piece to a 4 x 8’’ piece of muslin using the adhesive basting spray. Repeat with the other lining panel and muslin piece.

6. Clip or pin the two lining panels together with the right sides of the fabric facing each other. Sew all the way around three sides of the exterior panels, leaving a 3’’ gap in the middle of the lower 8’’ edge and the other long side open. Be sure to backstitch at the start and finish of each seam.

7. Box the corners of the lining exactly as you did in step 3. Keep the lining turned inside out.

8. Slip the exterior inside the lining (right sides of the fabric touching) and clip or pin all the way around the top opening, being sure to match up the side seams. Sew all the way around the opening.

9. Pull the exterior of the basket out through the gap in the lining. Tuck the raw edges of the lining back into the gap and close it up by sewing 1/8’’ from the edge, backstitching at both ends. Push the lining down into the basket and press it carefully.
10. Topstitch 1/8’’ all the way around the opening. To give the basket a more boxy shape, press all the creases at the corners and edges.

That's it! If you make a Pixie Basket of your own, please be sure to share your pictures on Instagram and Pinterest. Tag it #pixiebasket and tag me @fabricmutt.
And for those of you who, like me, won't be able to make it to QuiltCon in Pasadena this weekend, my friend Julie of The Intrepid Thread is hosting a fun online event called QuiltNon. If you make one of these Pixie Baskets and post it on February 18-21, you'll be able to get in on the fun -- that means prizes, my friends! She'll be sharing all the details on her blog soon, so be sure to head over there to check it out. And if you want to pick up a few fabric goodies from her shop while you're there, well that's okay with me...
Happy sewing!
These are so cute, Heidi! I can't even stand it! I know what I'll be making this afternoon!
ReplyDeleteThis is a great little tutorial! I actually need one or more of these for binding clips and bobbins etc. I will probably use woven fusible interfacing instead of the muslin.
ReplyDeleteYes! This is adorable:) thanks for the great tutorial, I'm going to make one:)
ReplyDeleteDarling! I'll try this out soon! Thanks Heidi.
ReplyDeleteSo sweet, Heidi! I love the way you do your patterns, telling what fabric in your sample is the exterior accent or exterior main. That makes it so much easier to figure out which piece is which. Sometimes a pattern has 20 pieces and I have to decipher what the designer means by the way they've named each piece. Ughhhhh it can be a bit confusing. So, thanks :-)
ReplyDeleteSo cute! Definitely making one of these! Hope to find the time.....
ReplyDeleteLove these little baskets! As always, easy to follow instructions. Thank you so much for sharing :)
ReplyDeleteOh. My. Goodness! These are adorable! I need to make some to send Easter goodies to my niece and nephews.
ReplyDeleteVery cute... A nice little gift basket
ReplyDeleteLove this little basket ~ you do the sweeties tutorials! Got to make some!
ReplyDeleteOh, these are so cute! Thank you for sharing another wonderful tutorial. Can't wait to make one (or 20)!
ReplyDeletehello afternoon project!!
ReplyDeletethis is adorable!! i think i found what im sewing this weekend!!
ReplyDeleteI love this! I'll have to put it on my list for sure! Thanks!
ReplyDeleteWhat adorable little baskets. Thanks so much for sharing how you made them. I have pinned to my quilting and sewing tutorials board on Pinterest!
ReplyDeleteLove these cute baskets...just finished two and will have to make some for gifts! Thanks for the tutorial :)
ReplyDeleteterryscwayons(at)yahoo(dot)com
These are just adorable. If I ever get the last of the Girl Scout troop t-shirts done I might find some time to make one or two myself.
ReplyDeletethank you, Heidi, for such a fun tutorial! it's much appreciated! xo
ReplyDeleteLooks like sew much fun! I love that you could use layer cake 10" squares! I'll be trying this soon!
ReplyDeleteYour patterns are the cat's meow! I just fall for them! Can't wait to get some time to make this!😻
ReplyDeleteOlá Heidi, uso o Google e nem sempre a tradução é boa, porisso adorei o modo como você explica e as fotos estão muito nítidas. Muito obrigada por compartilhar.
ReplyDeleteUm abraço,
Conchê, São Paulo, Brasil
DeleteEu sei que o Google Translate nem sempre é bom.
Thanks so much for this tutorial Heidi. I dropped everything and whipped one up this afternoon - so fun !
ReplyDeleteI came here via Crazy Mom Quilts - thanks for a lovely tutorial :)
ReplyDeleteSoooo adorable! Thanks for sharing the tutorial! I'll be making a bunch of these for mini skeins of yarn:)
ReplyDeleteAdorable! Thanks for sharing.
ReplyDeleteSo sew cute. Just finished my first one.
ReplyDeleteSaw your pixie baskets on Instagram made by two friends and had to make two of my own.
ReplyDeleteSweet pattern thanks for sharing it. I'll have to check out your blog and see what else you have to share.
Hi. Can this be made by a beginner? Thanks.
ReplyDeleteGreat tut!
ReplyDeleteSo cute! Thanks it was super easy to make and I'm going to keep my binding clips in it.
ReplyDeleteHere via Crazy Mom Quilts - what a great tutorial! Very easy to follow. I've just made one in much less than an hour - a great way to use up some scraps and create a fun basket! Thank you!
ReplyDeleteCutest. Basket. Ever. On my to make list!
ReplyDeletei must make one right away. thanks for the tutorial.
ReplyDeleteGreat little project! Love your clear instructions!
ReplyDeleteGreat tutorial! I just made my first one. I am planning on making them for Secretary's Day which means I need to make 9 off them!
ReplyDeleteI have just made a few today I been very busy but kept seeing them in my Instagram feed. They are adorable thank you for sharing
ReplyDeleteGood morning! I'd quite like to attempt one of these today but I haven't got any muslin, what else can I use instead? Many thanks!
ReplyDeleteI love these! Making one for my sewing table to hold my binding clips. But HELP!!! I am on step 8 ready to sew the lining to the exterior and it won't fit on my machine! How are you doing that part?
ReplyDeletelove these !
ReplyDeleteOoh I love these and can see a multitude of pixie baskets all over my sewing room.
ReplyDeleteThank you times a ton!!! So cute, and wonderful tutorial with photos !!!
ReplyDeleteI love the size and shape of this basket, as well as the fabric.
ReplyDeleteToo Cute !!! Love IT !!
ReplyDeleteThis basket is too cute! I just made one! Your instructions were perfect! Thank you so much for sharing this adorable free pattern !
ReplyDeleteWell that was fun and easy to make! I didn't have twill tape, so made my own handles from fabric scraps. Thanks for an easy, adorable sewing project!
ReplyDelete